After researching a little bit, you’ll quickly see that there’s a lot involved in becoming a newborn photographer. Newborn photography takes a lot of prep work before the session even starts. A lot goes into preparing the studio for a newborn session. Besides collecting cuddly blankets, adorable buckets, a rainbow of wraps, and a never-ending supply of props, there’s a lot that you need to think about to set up your studio for safety.
Here are 10 things to know to help you “set-up” for success.
1. Attend Newborn Photography Specific Trainings & Workshops
Years ago, one would have had to learn newborn photography as an apprentice, or from books. Today, there are thousands of articles and videos about newborn photography online, both free and at a cost. Ana Brandt and Stephanie Robin, both educators in newborn photography, encourage photographers to join many groups and learn as much as possible. Ana also encourages photographers to take workshops and recommends in-person training in posing and composites. Stephanie recommends looking for resources that teach about newborn safety and joining an association with that focus in mind. I have joined many newborn groups online and have attended several in-person workshops as well as online workshops. I am always increasing my knowledge and frequently taking more classes. Stephanie says, “When we know better we do better”.1 We should always be open to learning and changing how we do things.
2. Find Good Teachers & Mentors
Ana explains the importance of education among photographers but cautions that as more and more “teachers” pop up, photographers must be careful whom they choose to learn from.1 Please remember that with all the free information out there that some of the information can be misguided and anyone can say they teach newborn safety without actually having a deep knowledge about it. Joining professional associations and researching the mentors and teachers is a good idea to get the most correct and safe information.1
3. Acquire Appropriate Insurance
Before working with any newborns find appropriate insurance coverage for your business. For the protection of yourself and the baby, it’s important to be insured.
4. Practice First
I would recommend learning with a toy doll, stuffed animal, or professional posing doll to get comfortable with the camera settings and lighting. A professional newborn posing doll can be particularly helpful and more realistic as it bends and moves similar to a newborn. Posing dolls are also great for wrapping technique practice. Several posing dolls have been created specifically for the training of photographers and are linked below.
Stand in Baby https://www.standinbaby.com/
Puddy Pad Posing Doll https://puddypaddesigns.bigcartel.com/product/puddy-pad-posing-doll
5. Schedule for the Right Times
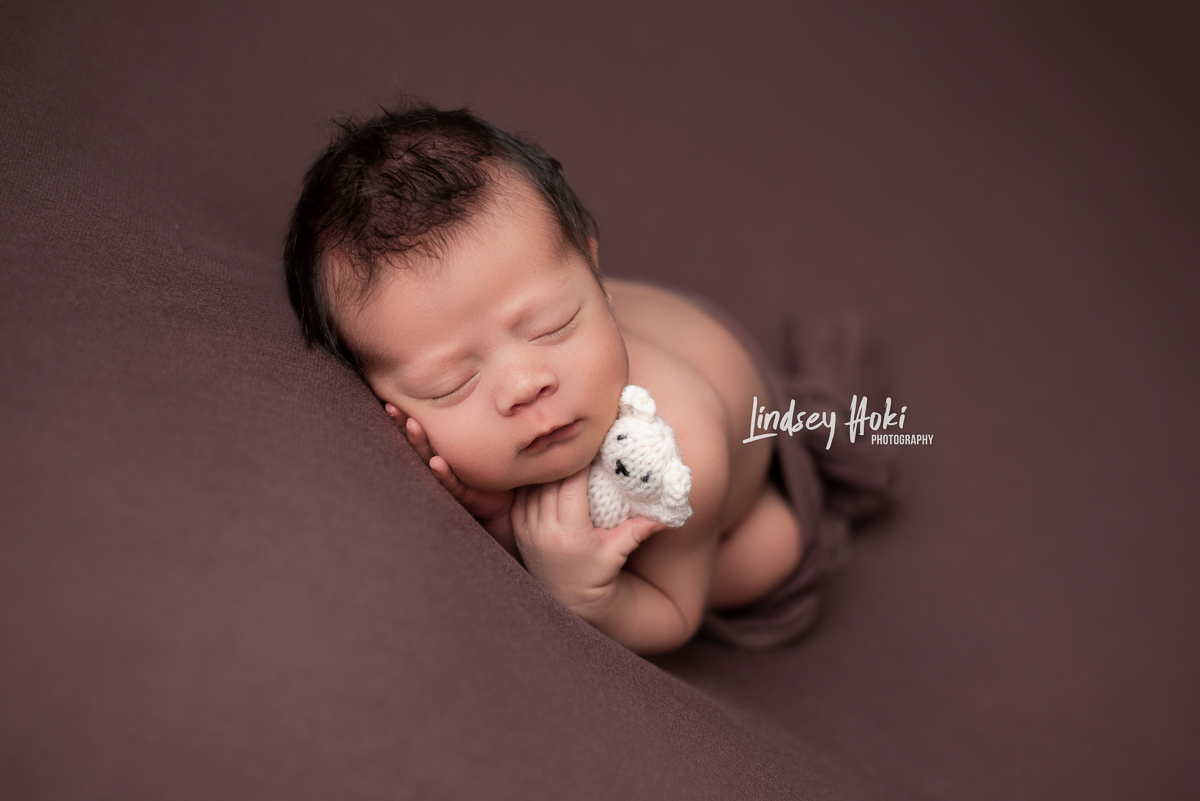
The age of the baby will influence how the session will go. Many photographers recommend doing the session before the baby is two weeks old as they are more likely to curl up into “womb-like” poses and stay asleep. It is not typically recommended to photograph babies under five days old as many of the babies are still learning to breastfeed and may need to eat more often throughout the session.
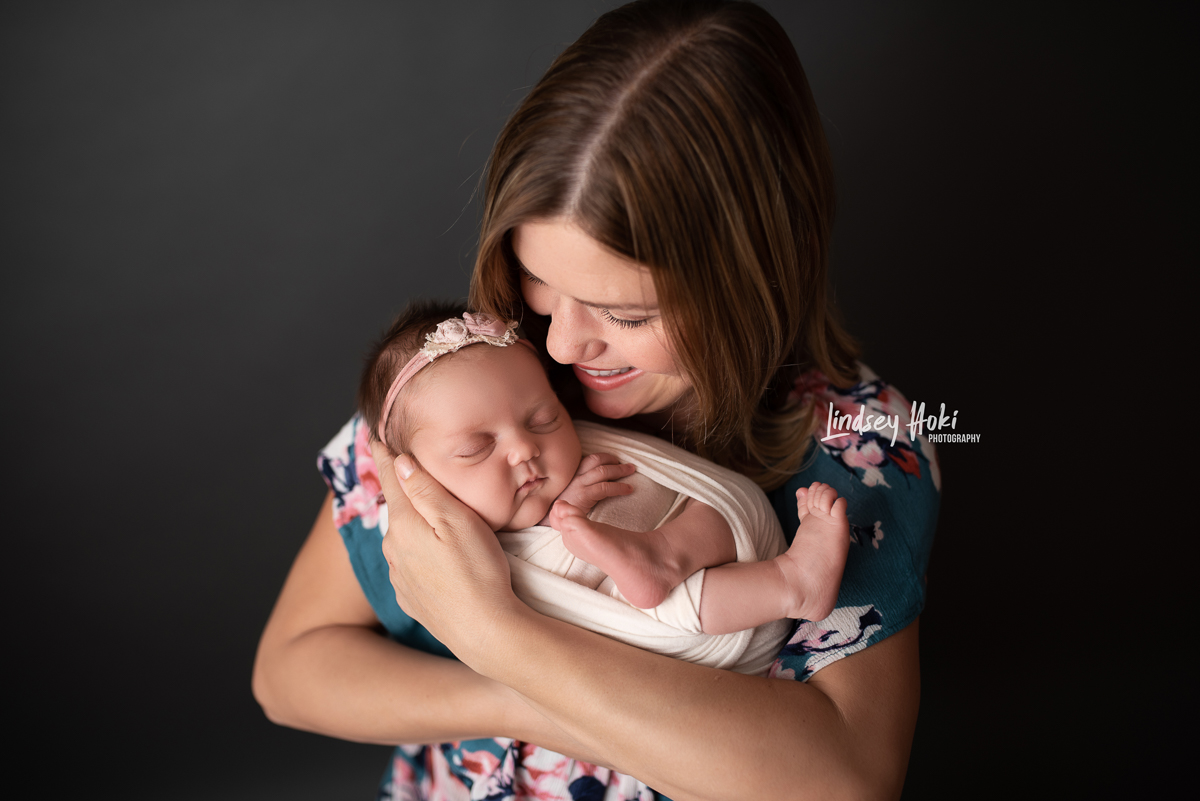
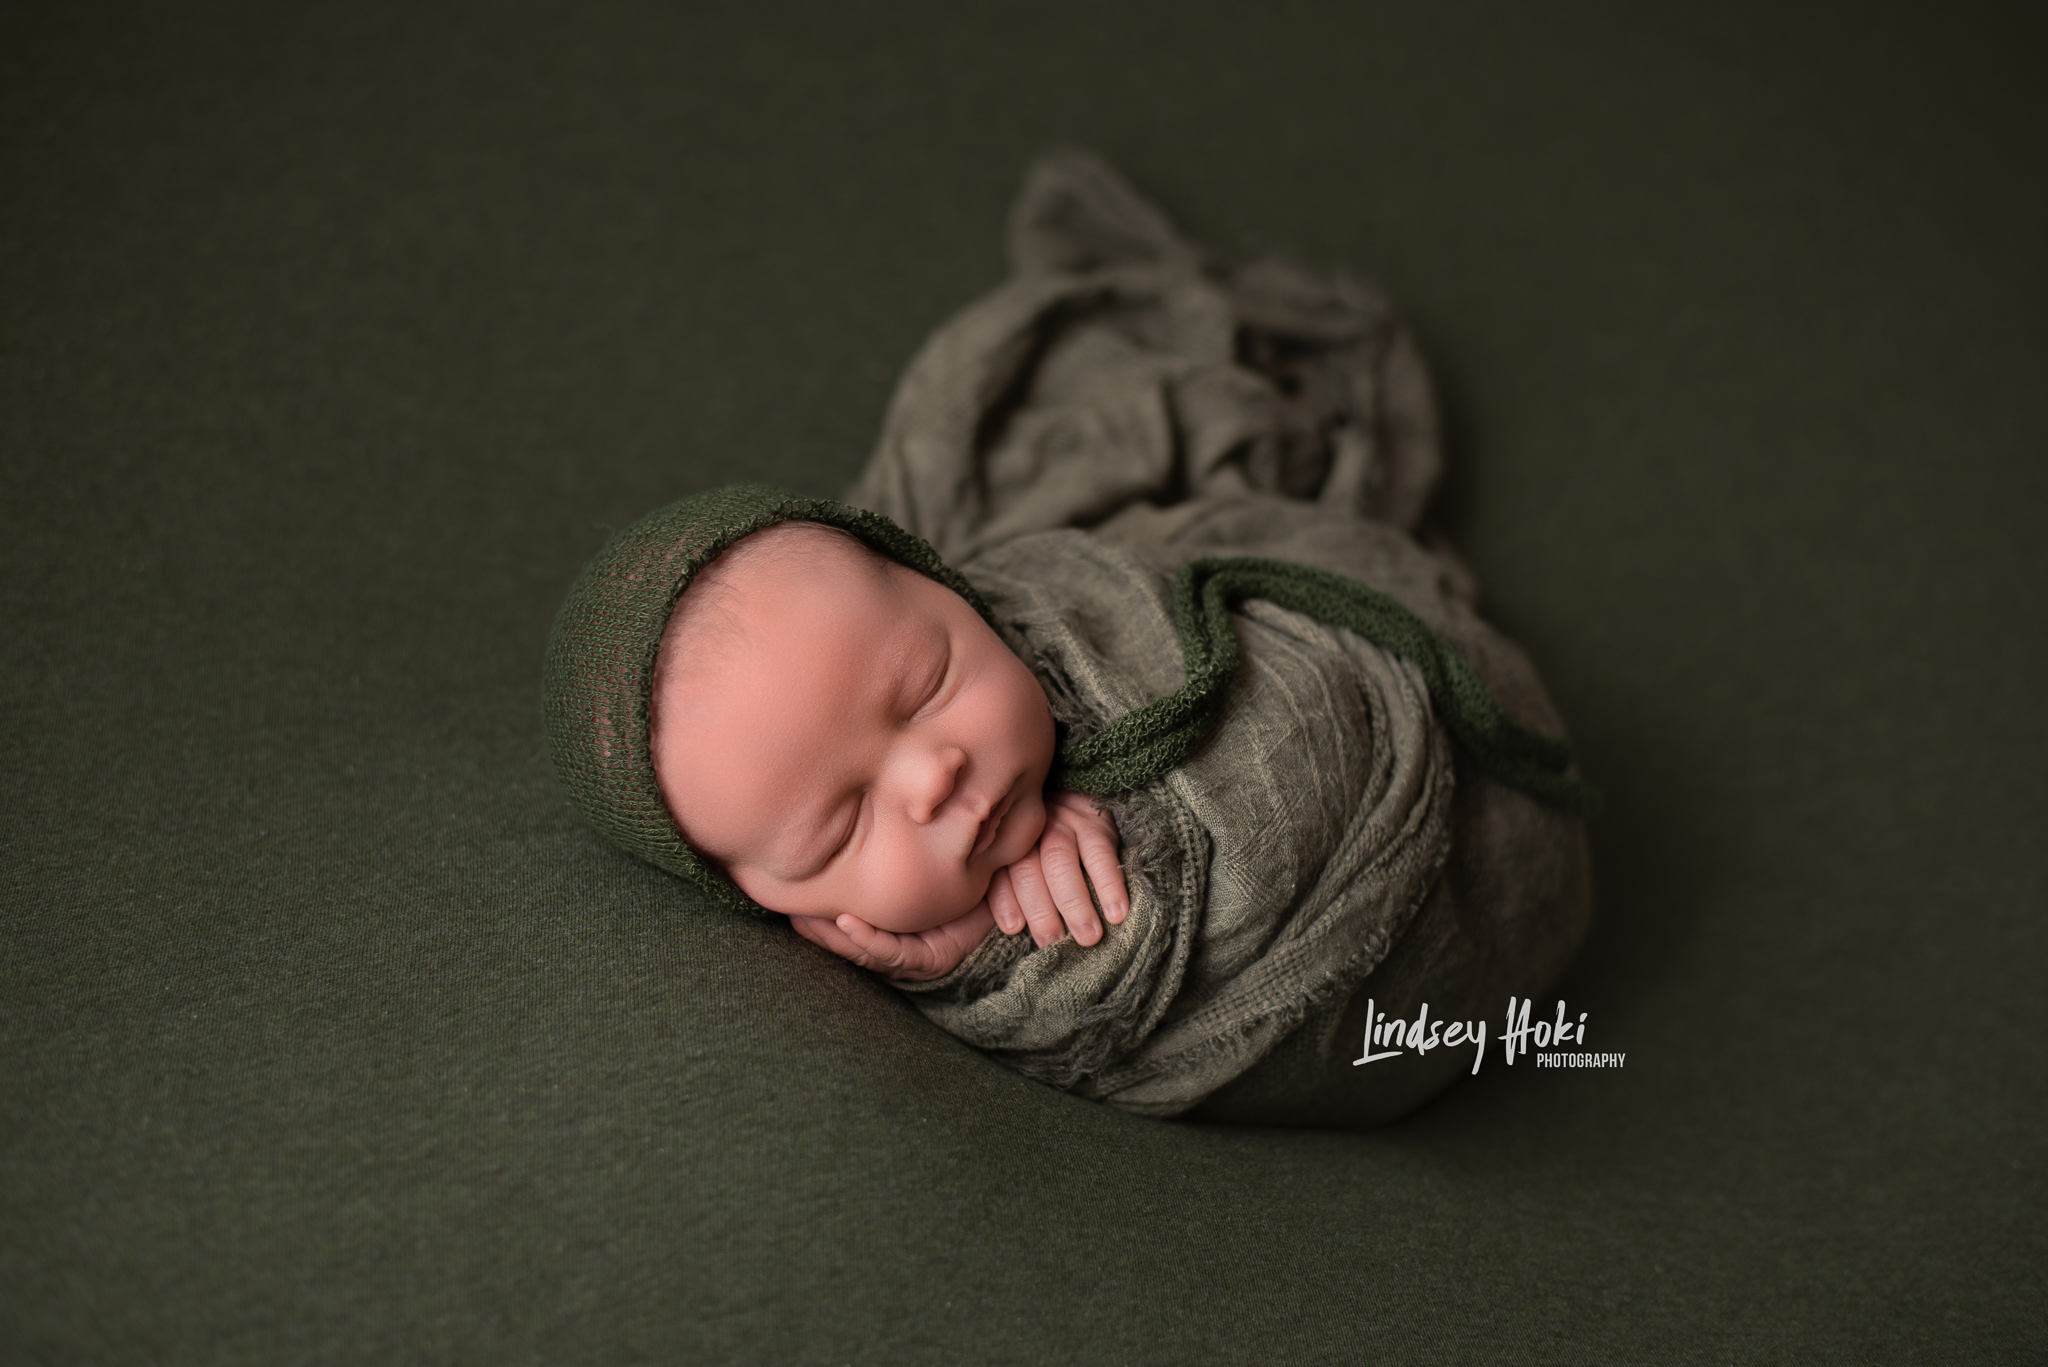
Older babies aren’t usually as sleepy and can end up more awake for the session making posing more difficult. Wrapping is a great tool for older babies as it keeps them more still.2 Parents just want nice pictures of their baby and shouldn’t be turned away just because they missed the two-week window. The session just needs to be planned accordingly with the understanding that the sleepier poses may not happen with an older baby. Older babies are sometimes more personable and usually have a little more control of their eyes for eye contact which most parents love. Many photographers have a preference for the age of the babies they like to work with, but every baby is unpredictable, therefore, photographers should be prepared with a variety of pose ideas and techniques to use to ensure a successful session.
When scheduling a newborn boy, it is important to speak with parents about if the baby is being circumcised. It’s best to only schedule the session before the procedure is done or after it has fully healed, typically 5-7 days.2 Any open wound could be a risk for infection, and the baby is more likely to be uncomfortable and sore if not fully healed.
6. Have a Plan for Sickness
A simple sickness in an adult could be deadly for an infant. Therefore, if a photographer is sick, the session should be rescheduled or passed to another photographer.
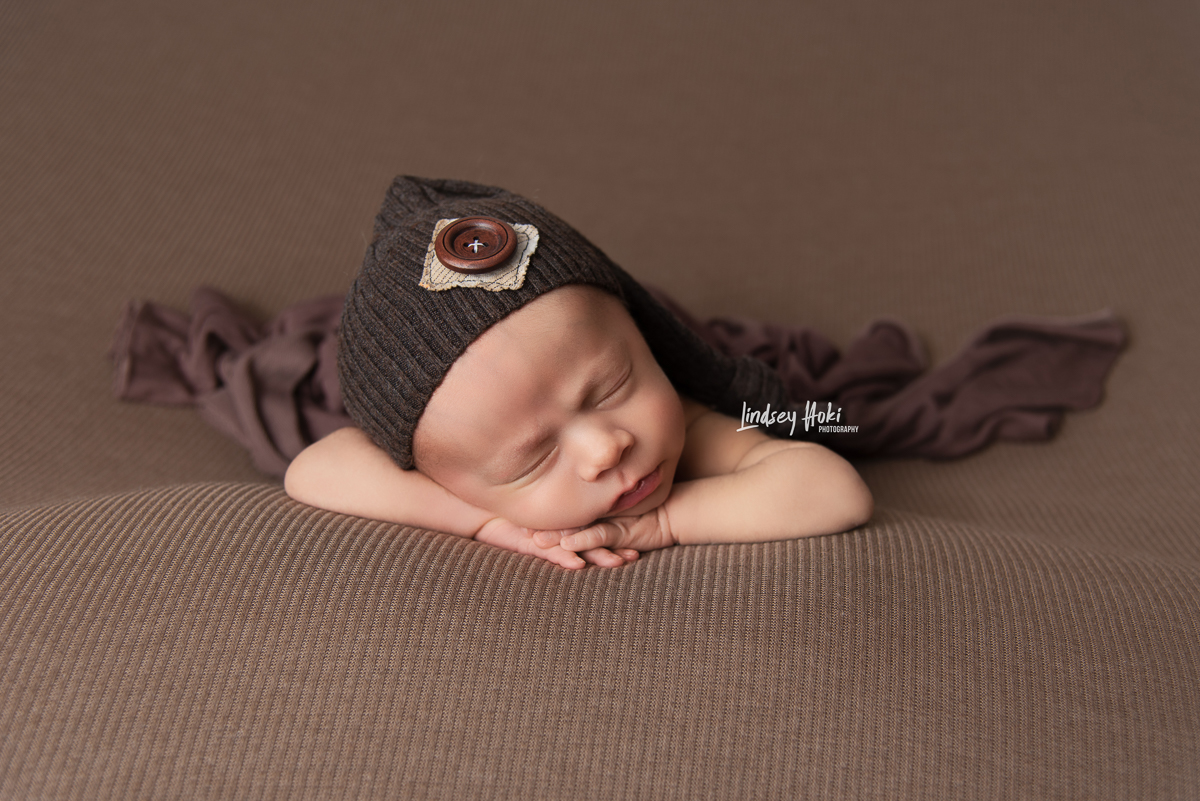
7. Use Appropriate Props
When choosing props, safety must always be considered. Babies should be placed in an appropriately sized prop as each baby’s size varies. When using buckets, be sure they are sturdy and large enough for the baby to fit in. Props that are 18 inches around are usually best to fit the baby comfortably.3 Props should be sturdy and free of chemicals, harmful objects, sharp edges, splinters, and nails.4 Glass props should not be used as they could break or shatter. Props should always be weighed down so they do not tip over. A ten-pound weight in the bottom of props is most common for added stability.2 A prop should never be moved with a baby in it as they cannot be stabilized and there is a chance of tripping and dropping the baby.5
8. Regulate the Temperature
Newborns are unable to regulate their temperature effectively. It is easy for them to become overheated or too cold, leading to a variety of problems. It is important to keep the room at a warm consistent temperature. During the session, be sure to pay attention to the baby’s appearance and behavior. Blotchiness, sweating, and discoloration, can be signs of the baby being too warm or cold. “If a baby gets too cold, the baby will start mobilizing his fat stores. This, in turn, can cause the blood sugar to drop too low. If this happens, damage to the brain or other internal organs can occur because the body will shunt the heat and glucose away from the baby’s extremities to try to feed the brain and heart.”6
The temperature of the studio should typically be 80-85 degrees to replicate the warmth of the womb and keep the baby comfortable.6 Heaters are a great tool to keep the baby warm, but should not be too close as it can cause burns or overheating. The baby should also be kept away from any drafts coming into the room. When regulating the baby’s temperature watch for “cold feet, paleness, purple or splotchy skin, or sweating”, which indicate necessary temperature adjustments.6
9. Secure Equipment and Eliminate Tripping Hazards
Light stands and backdrops should be stable and secure. Sandbags are useful to prevent objects from tipping. Cabinets or shelves should be secured to the walls.
When photographing from above the newborn baby, the camera neck strap should always be worn to prevent the camera from falling on the baby.4
The floor should be free from any tripping hazards. Cords should be taped down and rug grippers should be used for slippery materials such as a flokati on the hardwood. Props should be out of the way, and any waste and spills should be cleaned immediately.4
10. Keep Everything Clean
Hands should be washed and sanitized continuously throughout the session, not just at the beginning. The photographer’s fingernails should be filed smooth, and jewelry should be removed to prevent scratching the baby.2 After the session, all blankets and props should be washed whether they were soiled or not.3 One thing to consider is the products being used during the session as newborn skin can be sensitive and susceptible to irritation. All products used “should be mild, hypoallergenic, and devoid of dyes or fragrances.” Props and blankets should look and smell clean. Musky and mildewy smells could indicate the presence of mold growing in a damp, warm studio and this could be dangerous to infants and disconcerting to parents. “Essential oils are trendy right now, but can cause allergic reactions and sensitivities”.4 I would avoid strong fragrances with perfume as well.
The baby’s skin is often peeling and should be left alone. Parents should be able to decide if they want any lotion or cream on the baby. If pets are kept in the home or studio, clients should be made aware before booking as some may have allergies. The space should be cleaned with antibacterial products between each session to eliminate germs, pet dander, hair, and dust.
Sources
- Brandt, A. (2017, July 05). Retrieved July 28, 2019, from https://www.youtube.com/watch?v=qLn5InfFb0U
- Long, R. (2013). The planning stage. Natural Newborn Baby Photography: A Guide to Posing, Shooting, and Business. [electronic resource]. Peachpit Press. Retrieved from http://search.ebscohost.com.ezproxy.uvu.edu/login.aspx?direct=true&db=cat07712a&AN=flc.303455&site=eds-live
- Long, R. (2013). Newborn posing. Natural Newborn Baby Photography: A Guide to Posing, Shooting, and Business. [electronic resource]. Peachpit Press. Retrieved from http://search.ebscohost.com.ezproxy.uvu.edu/login.aspx?direct=true&db=cat07712a&AN=flc.303455&site=eds-live
- Newborn Safety. (n.d.). Retrieved from https://apnpi.com/newborn_safety/
- Buckman, S. (2012, November 08). Newborn Safety Week 2012! Retrieved from https://www.napcp.com/2012/11/08/newborn-safety-week-2/
- Long, R. (2013). The anatomy of a newborn. Natural Newborn Baby Photography: A Guide to Posing, Shooting, and Business. [electronic resource]. Peachpit Press. Retrieved from http://search.ebscohost.com.ezproxy.uvu.edu/login.aspx?direct=true&db=cat07712a&AN=flc.303455&site=eds-live